Inspiring Community
Connect with like-minded individuals who share your passion for positivity and joy. Together, we create a supportive environment that fosters happiness and growth.
Expert Guidance
Access practical advice and expert gardening tips to help you nurture beautiful plants and a joyful home. Our resources empower you to cultivate your happiness.
Uplifting Content
Enjoy a variety of motivational stories and insights that inspire positive actions. We believe happiness blooms from sharing uplifting ideas with each other.
Recent Posts

Best Portrait Tattoo Artist Sydney: How to Get Realistic Ink
What makes a portrait tattoo look realistic? A realistic portrait is built on values, not…

Who Is the Best Tattooist in Sydney for Your Style?
What does “best tattooist” actually mean in Sydney? The best tattooist is the one whose…

When Custom Iron On Patches Make More Sense Than Sewn Options
Sewn patches still win in some hard wear situations, but they also demand more time,…
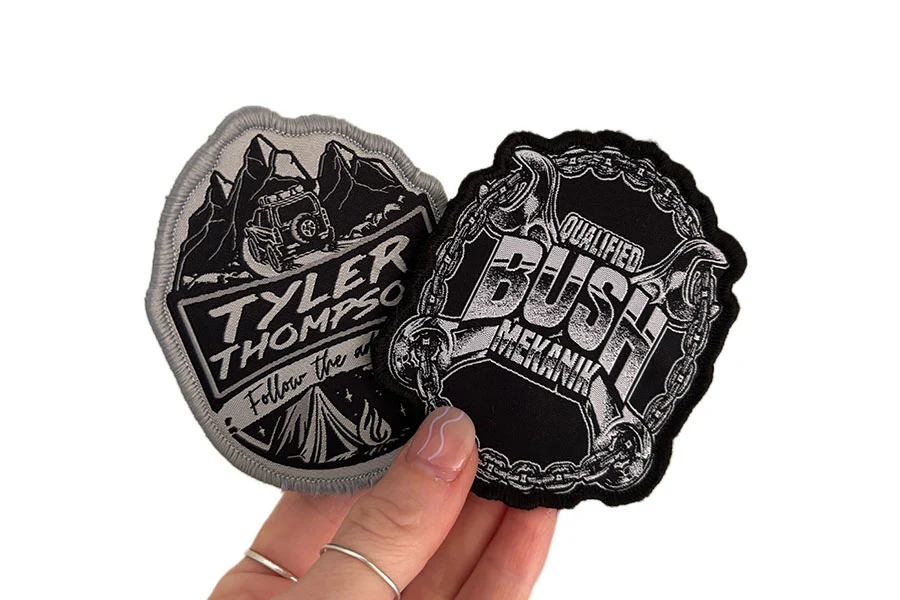
Why Velcro Patches Are Popular for Workwear Branding
They help companies keep branding consistent across sites, seasons, and staff changes, without repeatedly buying…
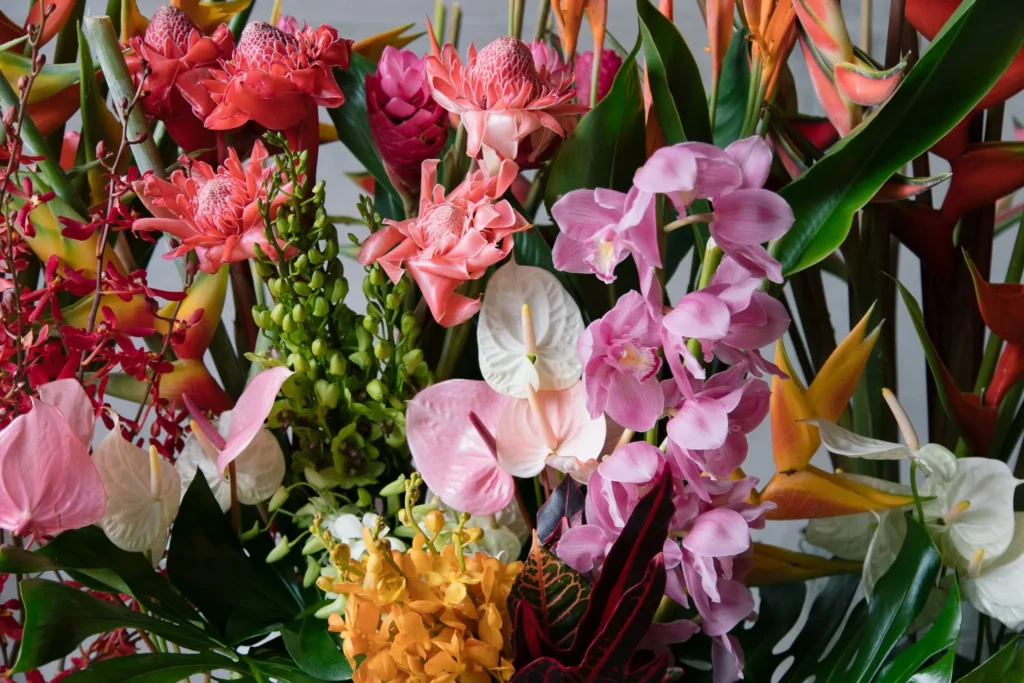
Flower Delivery Neutral Bay: Easy Ways to Surprise Someone Today
A great surprise does not need weeks of planning. With flower delivery in Neutral Bay,…
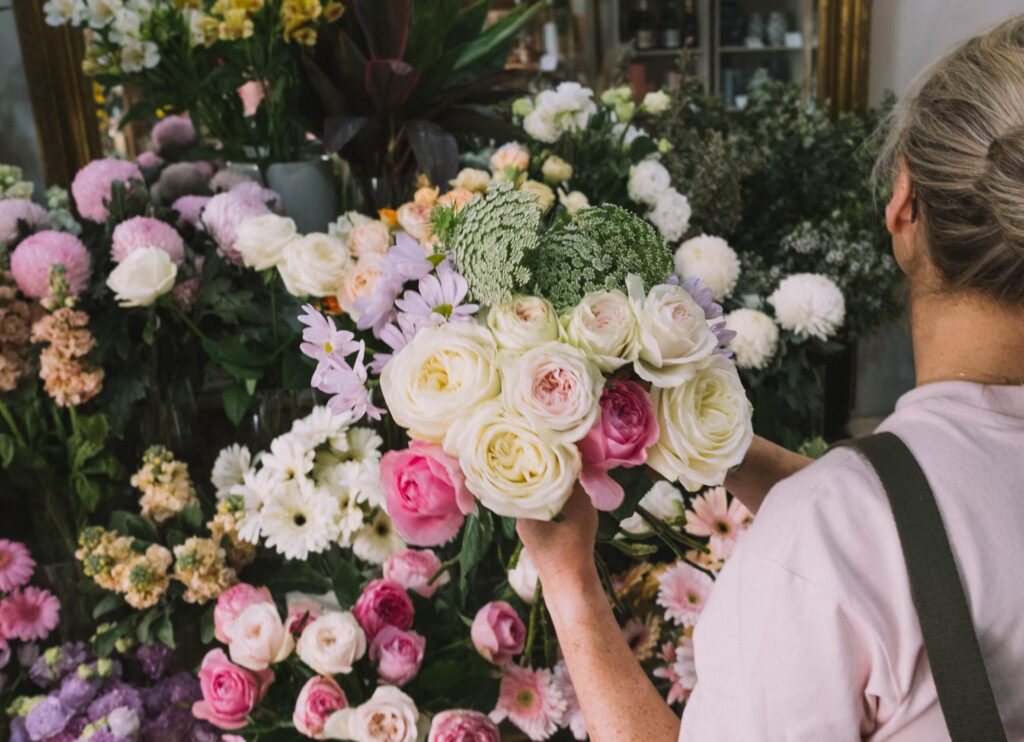
Why a Florist Crows Nest is Ideal for Fresh Daily Flowers
Fresh flowers feel simple, but getting truly fresh stems every day is not. A florist…

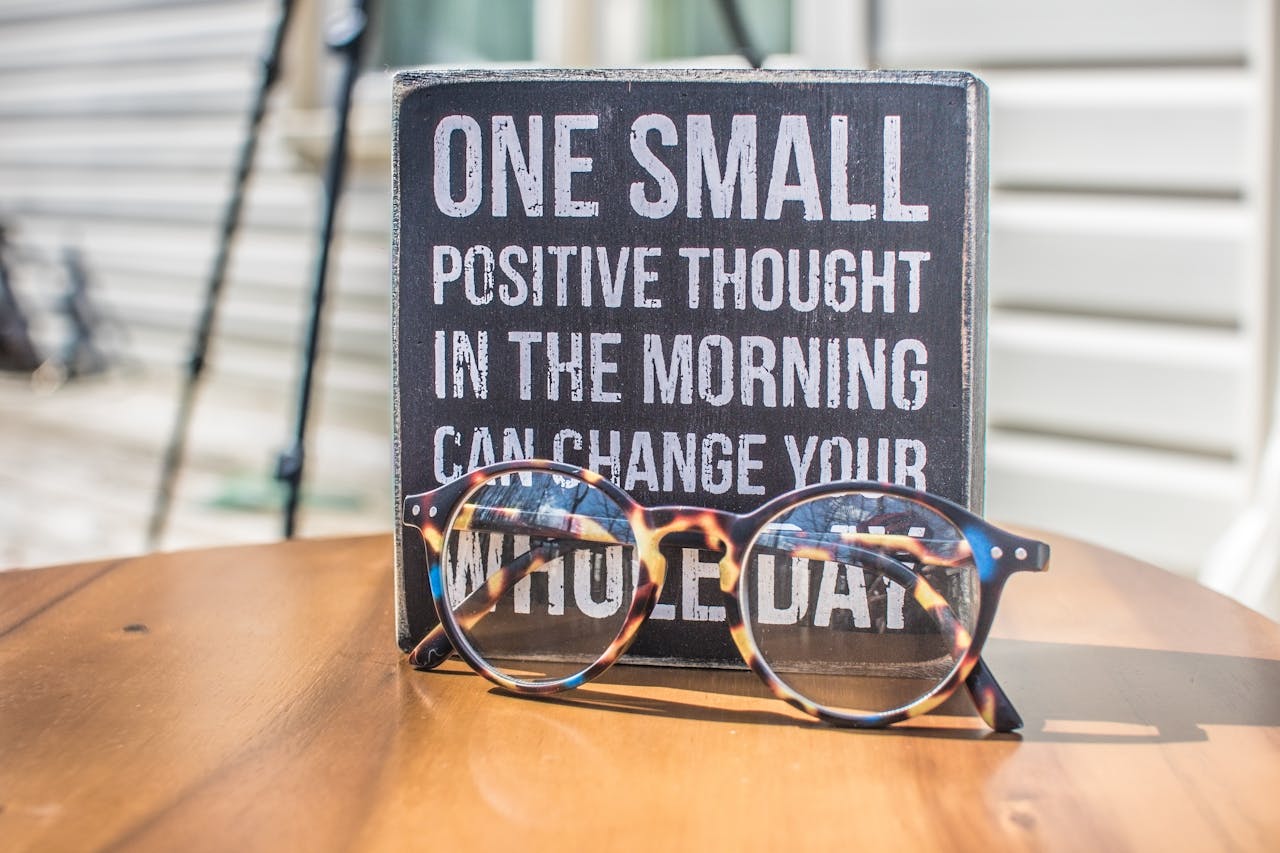
Inspiring Thoughts
Delve into a collection of uplifting quotes and stories that inspire positivity in daily life and foster a joyful mindset.
Gardening Tips
Get expert advice on gardening practices, helping you cultivate beautiful flowers and lush greenery that bring joy to your home.
Positive Action Ideas
Find practical ways to spread happiness through community actions and personal habits that uplift and inspire those around you.
What Our Community Says